
Classic Motorsports GPS Instructions
“Always start the GPS navigation before you depart each stop on the tour. Starting the GPS mid-route may cause errors and wrong turns. ”
Installing the GPS Unit

Mount the GPS somewhere safe and visible in your car. Please follow all state and local laws—it’s your responsibility to choose an appropriate location.

Plug the GPS into your car’s 12V power outlet/cigarette lighter. Alternatively, you may unplug the USB cord and plug it directly into an existing high-power USB port. The extra port on the Garmin 12V adapter can be used to charge your phone or other USB devices.
The Garmin will need to remain plugged in whenever you’re driving. Its internal battery will last approximately one hour if power is lost.

DO NOT use generic low-power USB adapters to power your GPS. Without sufficient power, the device’s screen brightness will be reduced and/or its battery will die mid-drive.

Turn the GPS on by pressing the power button on the rear of the unit.
To turn the GPS unit off, just press this power button again or disconnect the power cord. (Many vehicles turn off power automatically when the ignition is off).
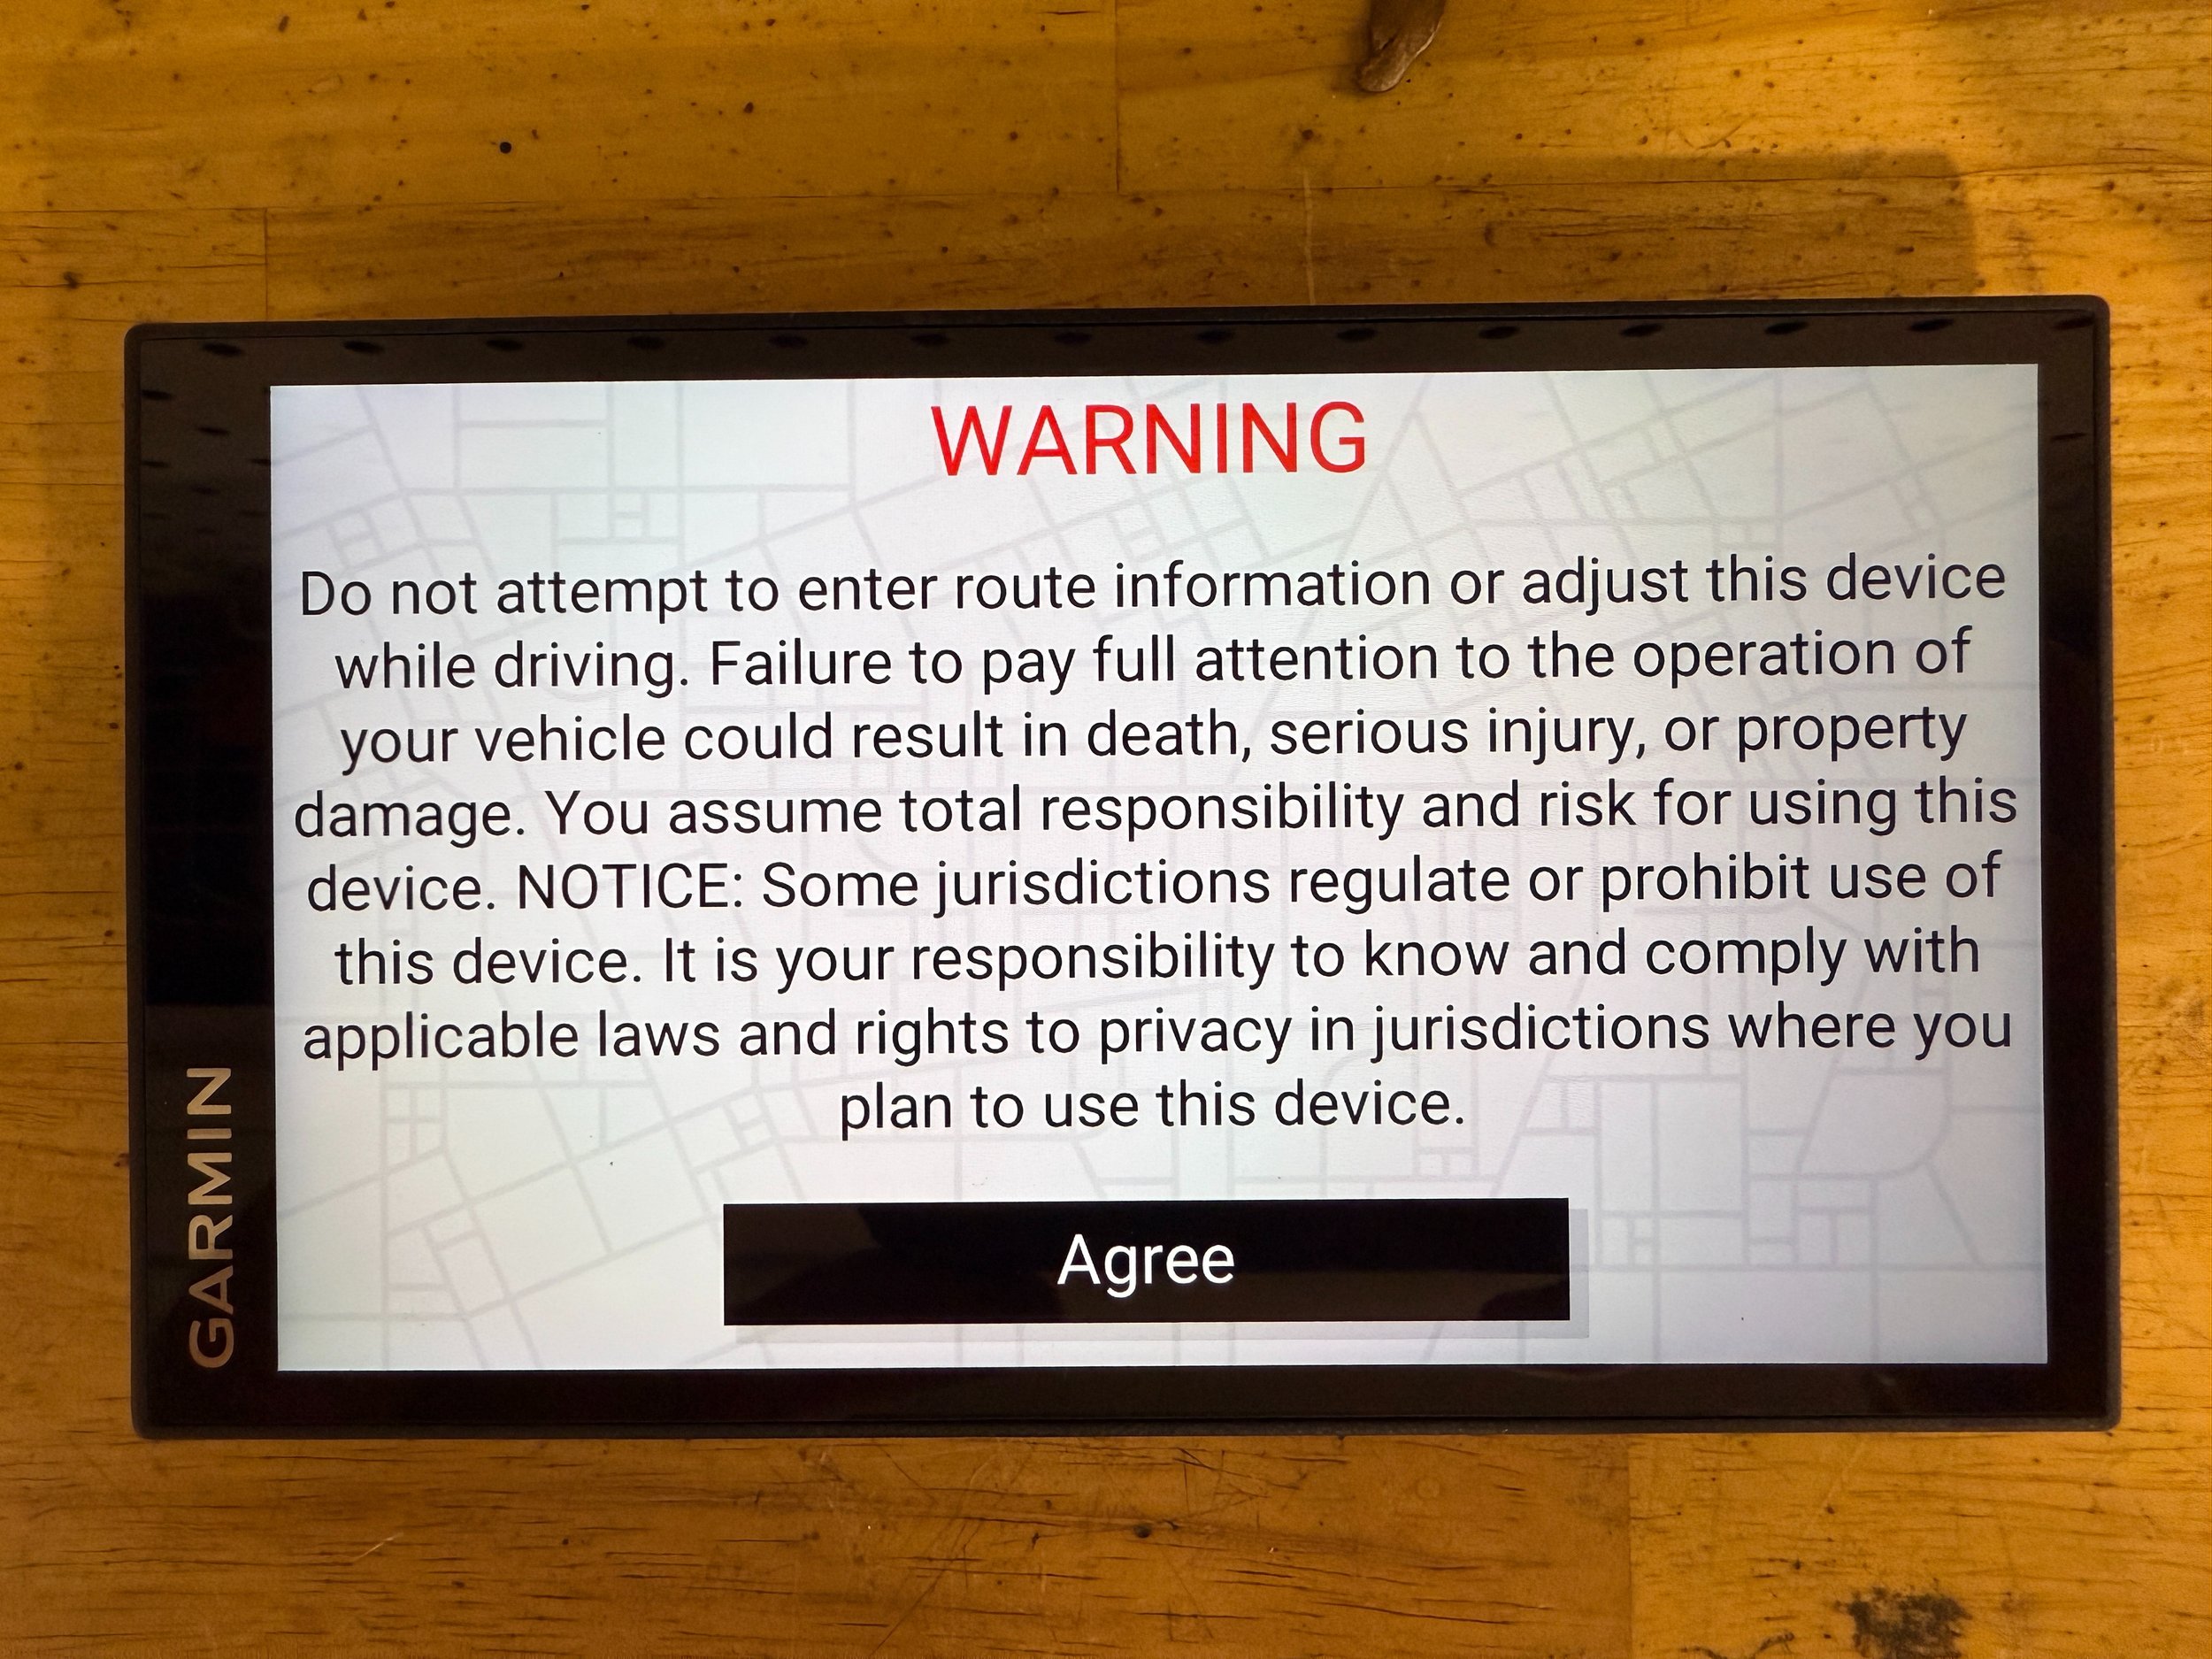
Tap the black “Agree” button, then wait a minimum of 90 seconds for the device to acquire a GPS signal.

Some USB ports in some cars will appear to the GPS unit as a computer. If this happens, you’ll see a banner or pop-up offering to “Connect to Computer” or enter “File Transfer Mode.”
DO NOT let the GPS unit enter computer connection mode. Tap the “X” in the bottom right corner of the screen or tap “Cancel” if you see this message.
“Failure to wait at least 90 seconds for the device to acquire a GPS signal before proceeding will result in incorrect routing later. Do not skip this step.”
Starting Navigation

This is the device Home Screen. Tap “Apps” to choose a pre-programmed route.
DO NOT tap "Where To?" on this screen. We know it's muscle memory, but tapping "Where To?" will result in incorrect navigation. Refer to the following section to start your route.
Need to adjust the volume? Just hit the “Volume” button at any point.

This is the apps screen. Tap “Route Planner” to choose a pre-programmed route.

This is the Imported Routes screen. Here, you’ll pick the route you’d like to take. Tap the leg you’d like to drive. Use the arrows on the left side of the screen to scroll.
Please note that each of these times are just rough departure estimates, and may conflict with the official schedule and times in your route book. Your route book schedule will always take priority over times noted in your GPS device.

The GPS will display an overview map of the planned route. Please confirm it matches the route map in your guidebook, and alert tour staff if it doesn't. Tap “Go!” to continue.
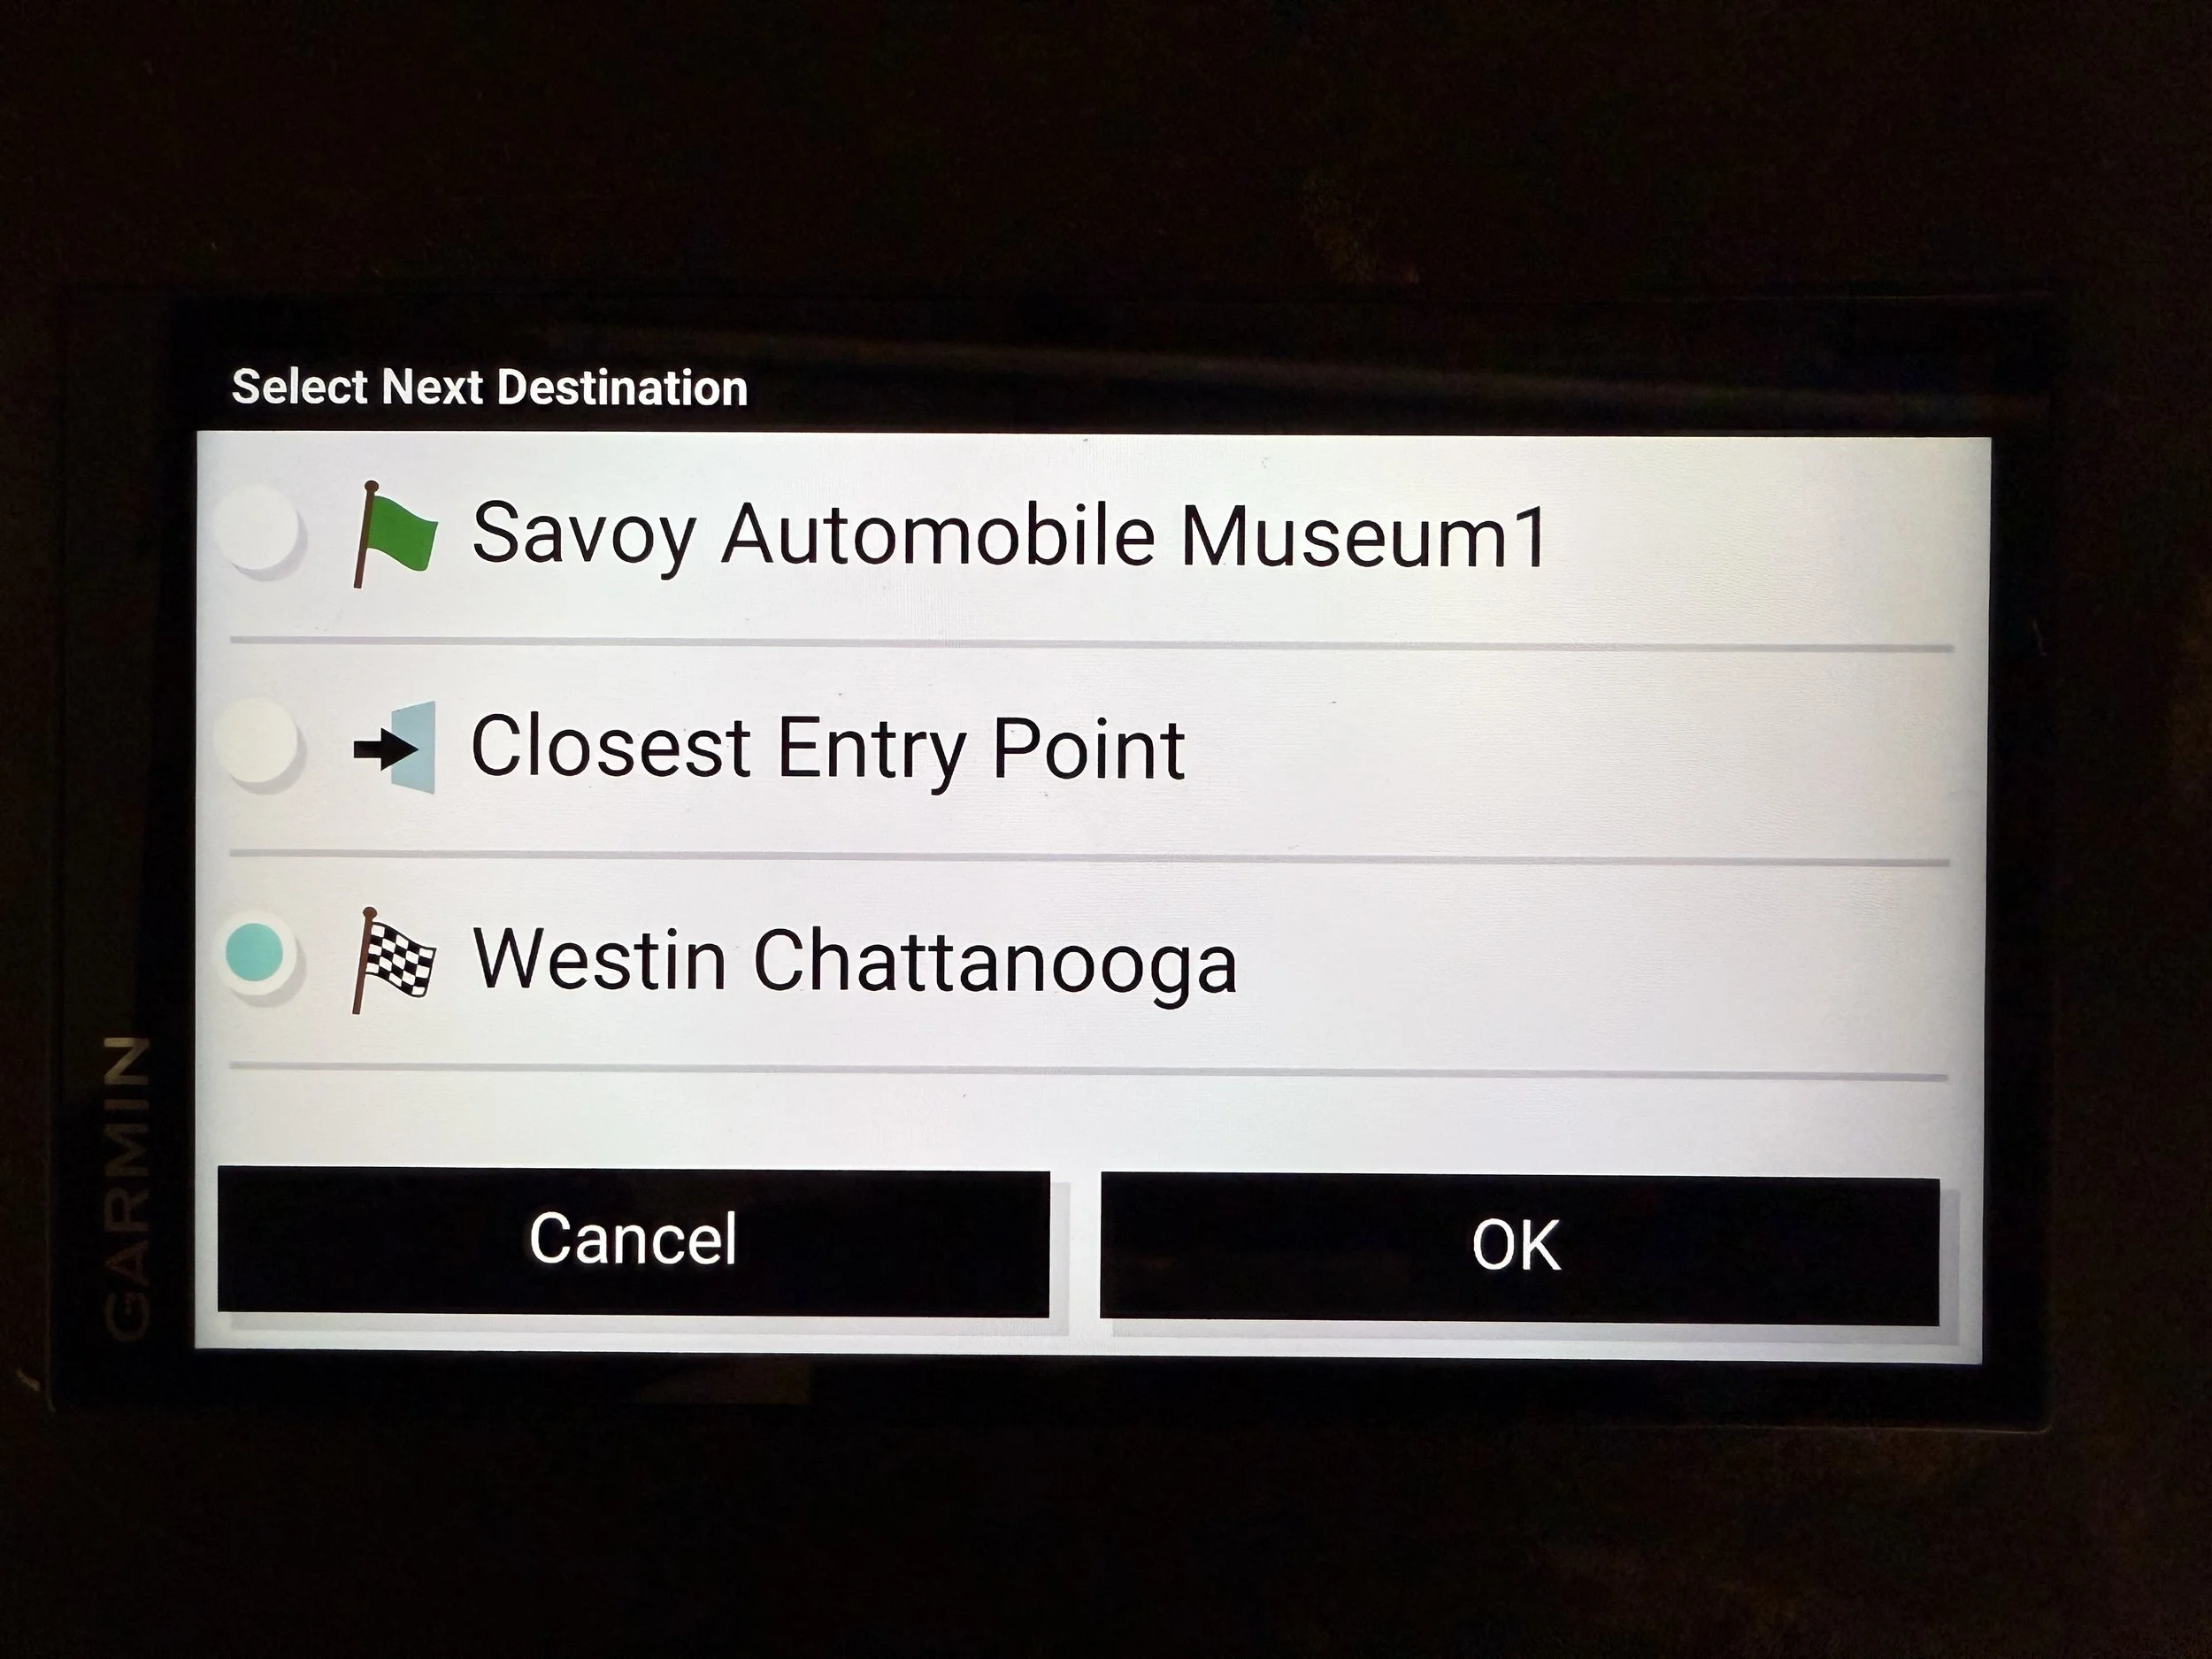
Next, you’ll select your destination. Select the destination, in this example “Westin Chattanooga”, then tap “OK” to calculate the route.
Do not select "Closest Entry Point" unless you’re starting a route far from the starting location (this situation does not normally happen, and this function may skip portions of our route).

The GPS will calculate the route based on your starting position and display an overview map again. Assuming you’re starting on the route, this should look extremely similar to the map in your guidebook, as well as to the map displayed two steps earlier. Tap “Start” to begin navigation.
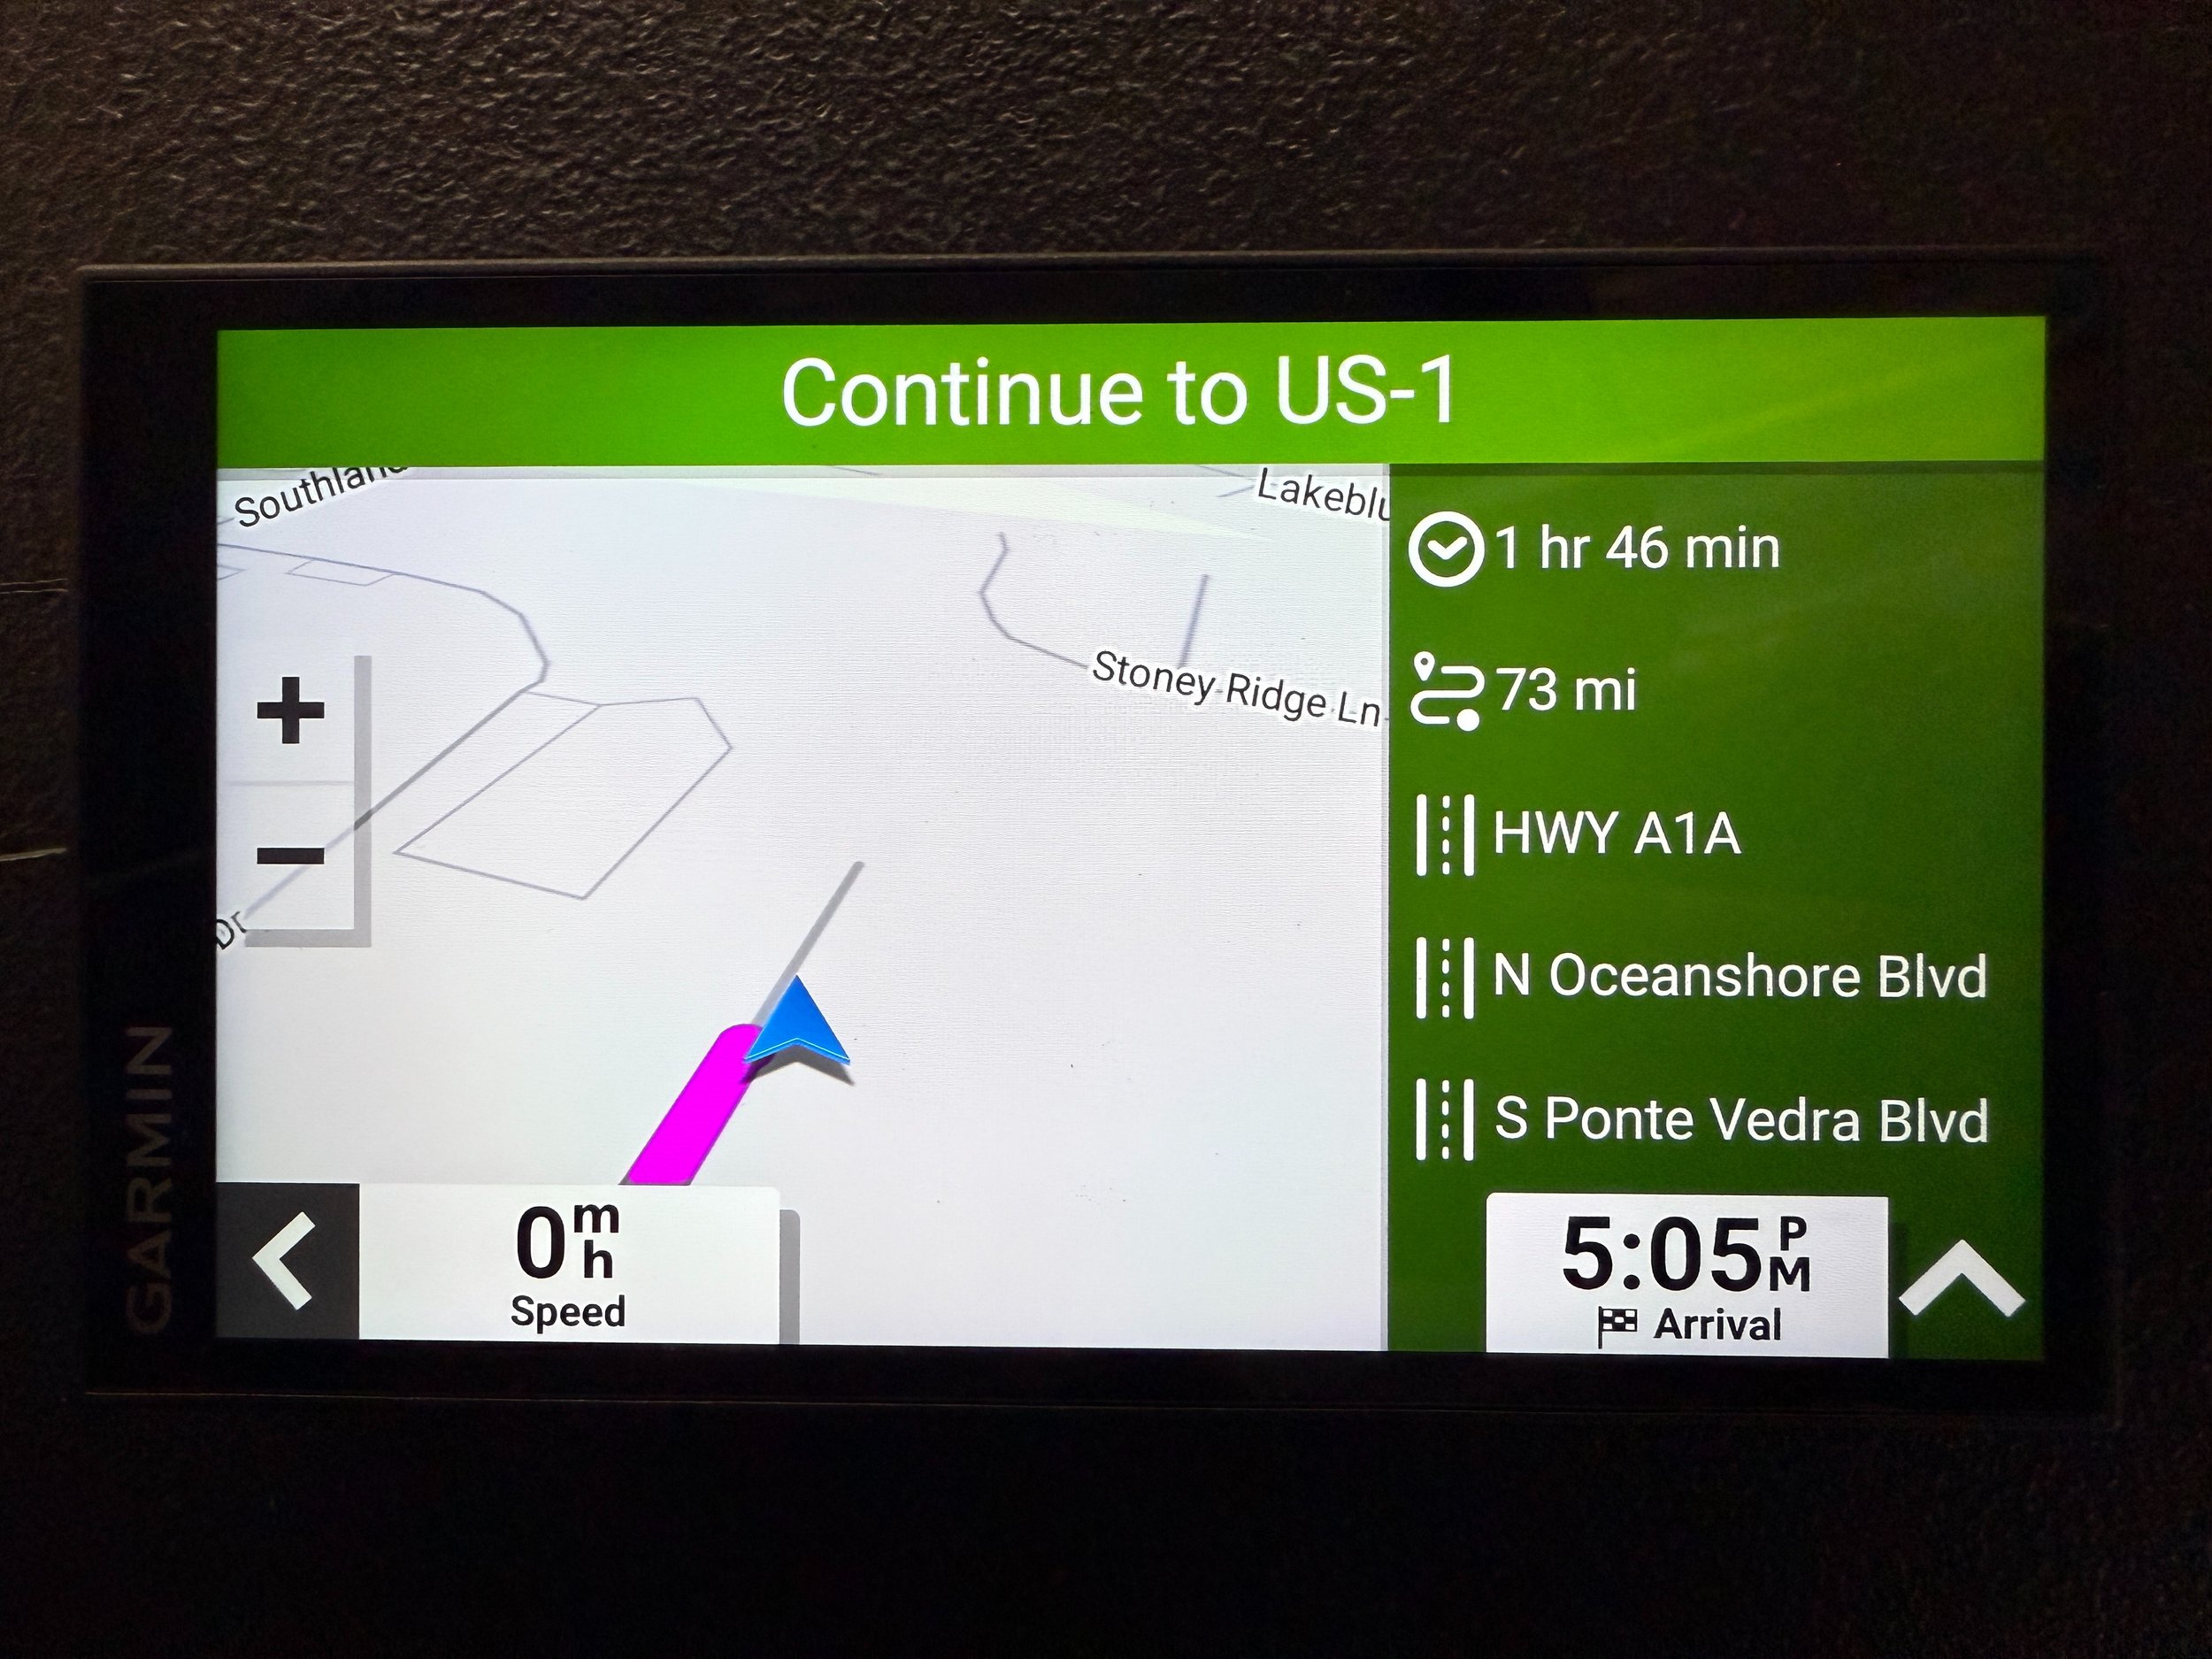
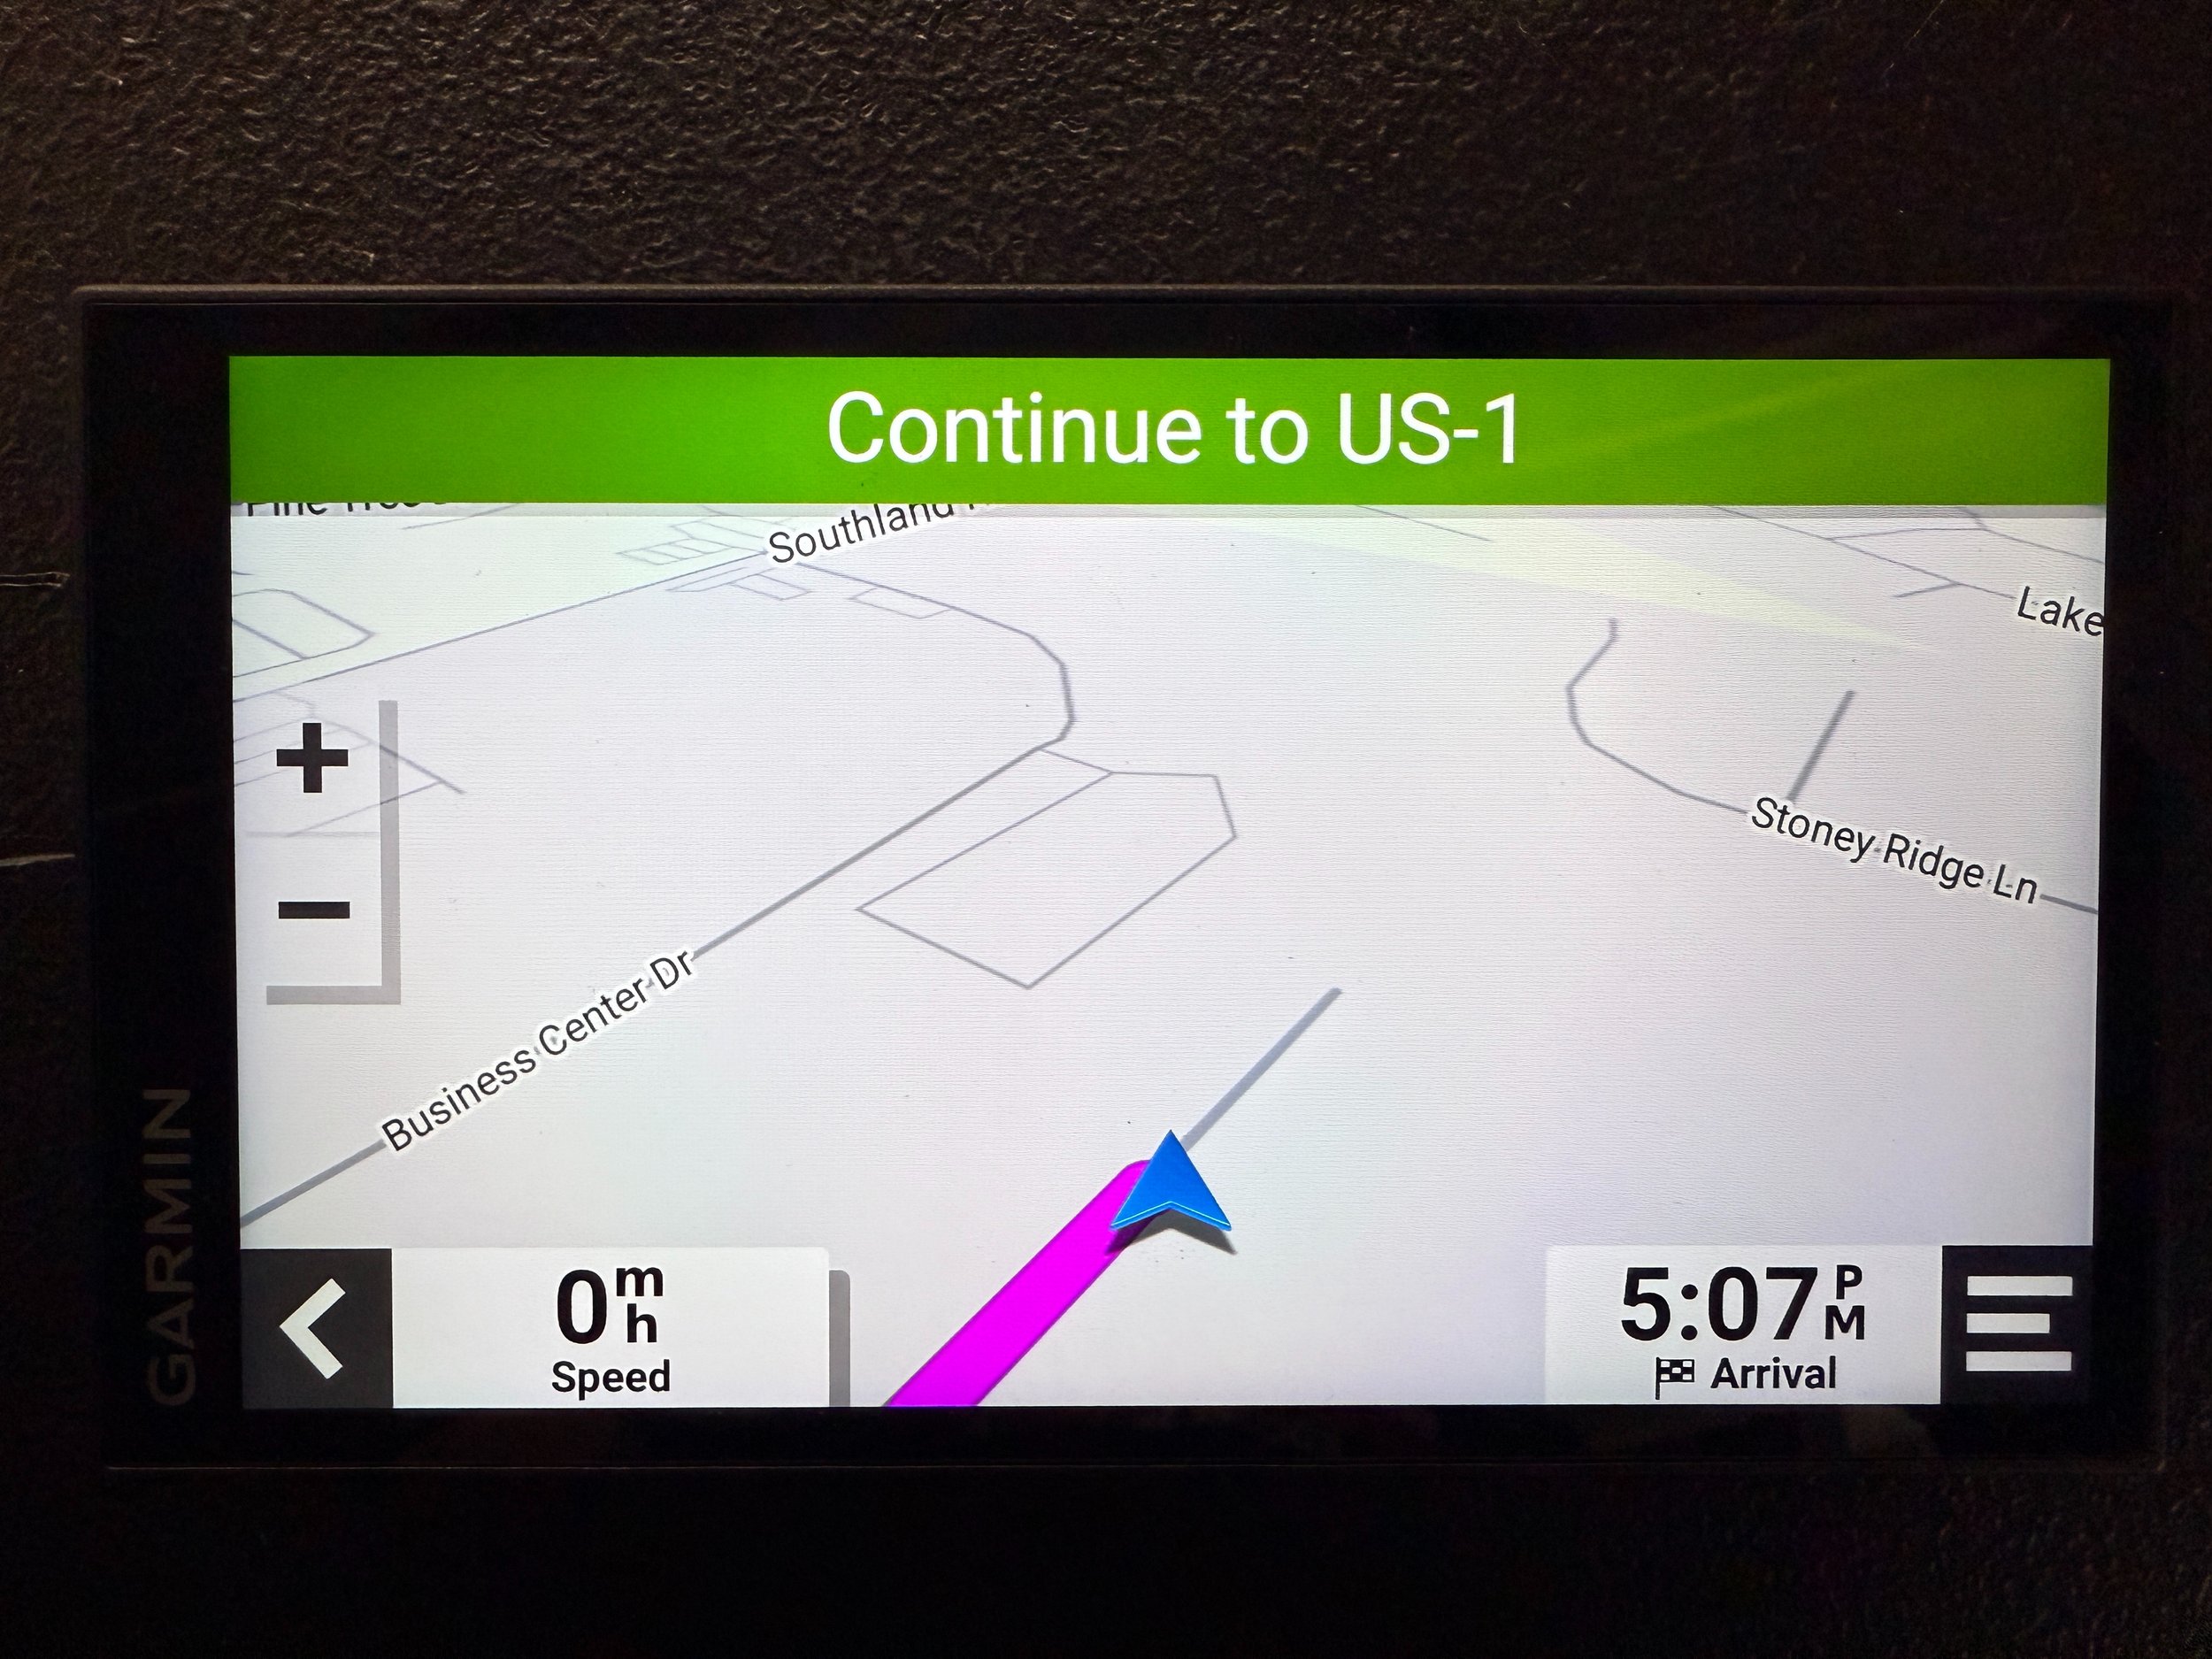
The GPS will now offer turn-by-turn navigation to your destination, following our curated routes along the way. Tap the “⌃” button at the bottom right corner of the screen to display a full-screen map.

Your GPS unit is now directing you along our pre-planned route. If you miss a turn, it won’t tell you to turn around—it will calculate a new route to the next shaping point. The best thing to do if you miss a turn is to safely make a U-turn and return to the original route.
Skipping Shaping Points

Sometimes you may need to skip a shaping point. We create our curated routes by choosing a series of shaping points along the roads we’d like to drive, sometimes as many as 30 points per route. Your GPS will always direct you to pass through each of these points in order.
This creates a problem when you start the GPS in the middle of a route, as it may then direct you to the beginning in order pass through each shaping point in order. This can also create a problem if a detour is required due to road conditions.
Therefore, it’s occasionally necessary to skip one or more of the next shaping points, essentially telling the GPS to forget the next direction(s) and move on.
To skip shaping points, tap the three lines in the bottom right of the screen.
Don’t see them due to a green window in your way? Tap the “⌃” button at the bottom right corner of the screen to display a full-screen map, then tap the three lines in the bottom right of the screen.

Next, tap “Edit Route” at the top center of the screen.

Tap “Skip Next Shaping Point.”

You’ll then see a detailed view of the next shaping point. Tap “Skip” on the bottom right to skip it.

The device will recalculate your route with the next shaping point skipped, and continue turn-by-turn navigation. You will need to repeat this process if you’d like to skip multiple shaping points.